Sea Glass Switch Plate Cover Craft How To

Switch Plate Covers can be found at any hardware store and are even available at Walmart. You can use the basic plastic, or wood, or even metal. As with so many sea glass projects, a white background will always allow for the sea glass to be shown to its best effect. Likewise, uncolored grout will also show the sea glass to its greatest advantage. If you choose to use a wood switch plate cover, you can paint it white, but at the very least must give it a quick seal with some spray shellac and let it dry, as you will need to seal the wood so it doesn’t soak up the water from the grout.

Materials Needed:
- Switch Plate Cover
- Mosaic Tile Adhesive
- Foam Brush
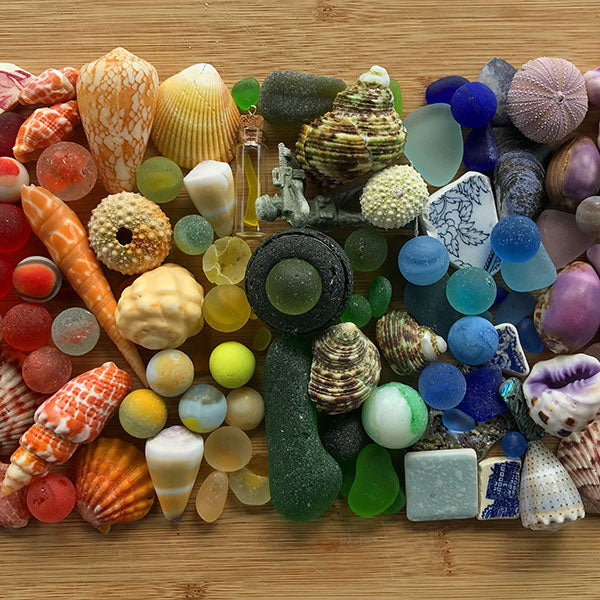
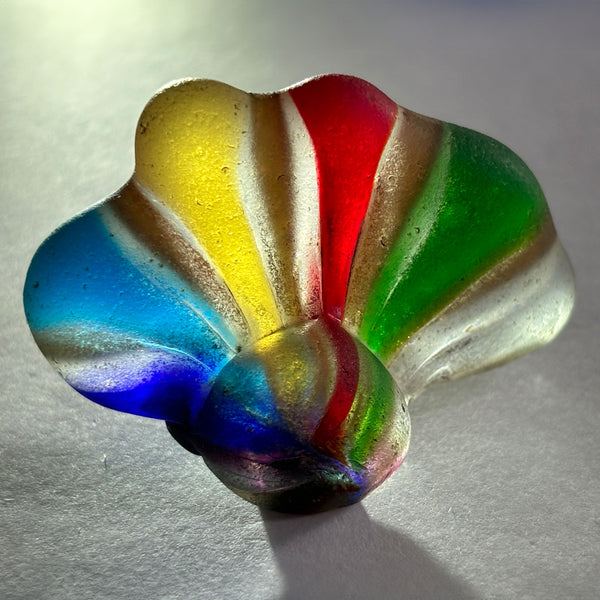
- Sea or Beach Glass
- Mosaic Tile Grout
- Grout Sealer
- Rubber Gloves
- Cake Candles or Drinking Straw
Process:

1. Coat the entire switch plate cover with mosaic tile adhesive, applied as a thin coat with a foam brush.

2. While the glue is still wet, affix each shard of sea glass to the switch plate cover. Allow to dry completely, up to 24 hours. It’s important there are no spaces between the glass and glue, as grout will seep underneath the sea glass and reduce color vibrancy.

3. When glue is thoroughly dry, apply the grout to your project. Use standard size cake candles or drinking straws to protect the screw holes. The pre-mixed grout (mostly sold at craft stores) will work, but regular thin-set will hold better.
Remember to follow grout package instructions for mixing, aiming for a cake frosting consistency. For this small project, its ok to simply use your hands to fill in the grout; wearing the rubber gloves, scoop out a good bit of the grout from the mix and smear it all over the glued sea glass mosaic. Fill in all the spaces between the sea glass pieces and make the grout as level as possible all across the surface, wiping away and discarding all excess.

4. After about 10-15 minutes, using a damp rag or sponge to wipe away and clean up the grout.

5. Allow to dry completely overnight and then wipe again with a damp rag or sponge to remove all traces of grout form the sea glass pieces and smooth all rough edges. (Note that a bit of grout was intentionally left in the lines of a patterned piece of sea glass; this gives great detail of the glass pattern.)
6. After 48 hours, apply a coat of grout sealer.
This article appeared in the Glassing Magazine March/April 2018 issue.
Make art with your beach finds

Learn how to make art, jewelry, and fun home decorations with seashells, sea glass, beach rocks, and more. Articles ›
Coastal and Beach Décor Ideas:

Check out how some beachcombers incorporate their love of seashells, sea glass, beach rocks, and more into their home décor. Articles ›
Quick note: We sometimes provide links on the Beachcombing website to make it easy to find or purchase products, some of which are on Amazon.com. As an Amazon Associate, we may earn from qualifying purchases made when you click and make purchases on Amazon, but please feel free to purchase items wherever it works best for you.